There’s nothing I love more than a delicious comfort food meal. I’m talking the kind that warms your whole body from within, and fills your body and soul with so much goodness that you’re bursting at the seems…literally and figuratively.
Over the years I feel as though I have mastered the art of make ahead meals, and food preparation in general so that I can have more quality time with my family instead of spending ridiculous amounts of time in the kitchen cooking and cleaning up afterwards. I generally spend a 4-6 hour period once a month preparing freezer meals, chopping and freezing produce, and packing almost everything we would need to use for that month to store away for another day. It has helped save my family time, and money in the long run which I would never complain about! Our lives are crazy busy more often than not, and this Shepherd’s Pie recipe is an awesome way to provide some extra meals in your freezer for those days when you really just don’t have the time (or energy) to put together a meal for your family. I love casseroles in general because they’re super easy to put together, they freeze well, and are a great option to provide an easy and delicious meal to your family without the fuss. This Shepherd’s Pie recipe is in constant rotation on our menu and is one of our family favorites…plus, the leftovers don’t last very long in our house!
I hope you give this recipe a try! If you do, come back here and let me know what you thought!
Ingredients
Method
- Preheat the oven to 375º F.
- Brown the ground beef and set aside 3-4 tbsp of fat from the meat and drain the rest.
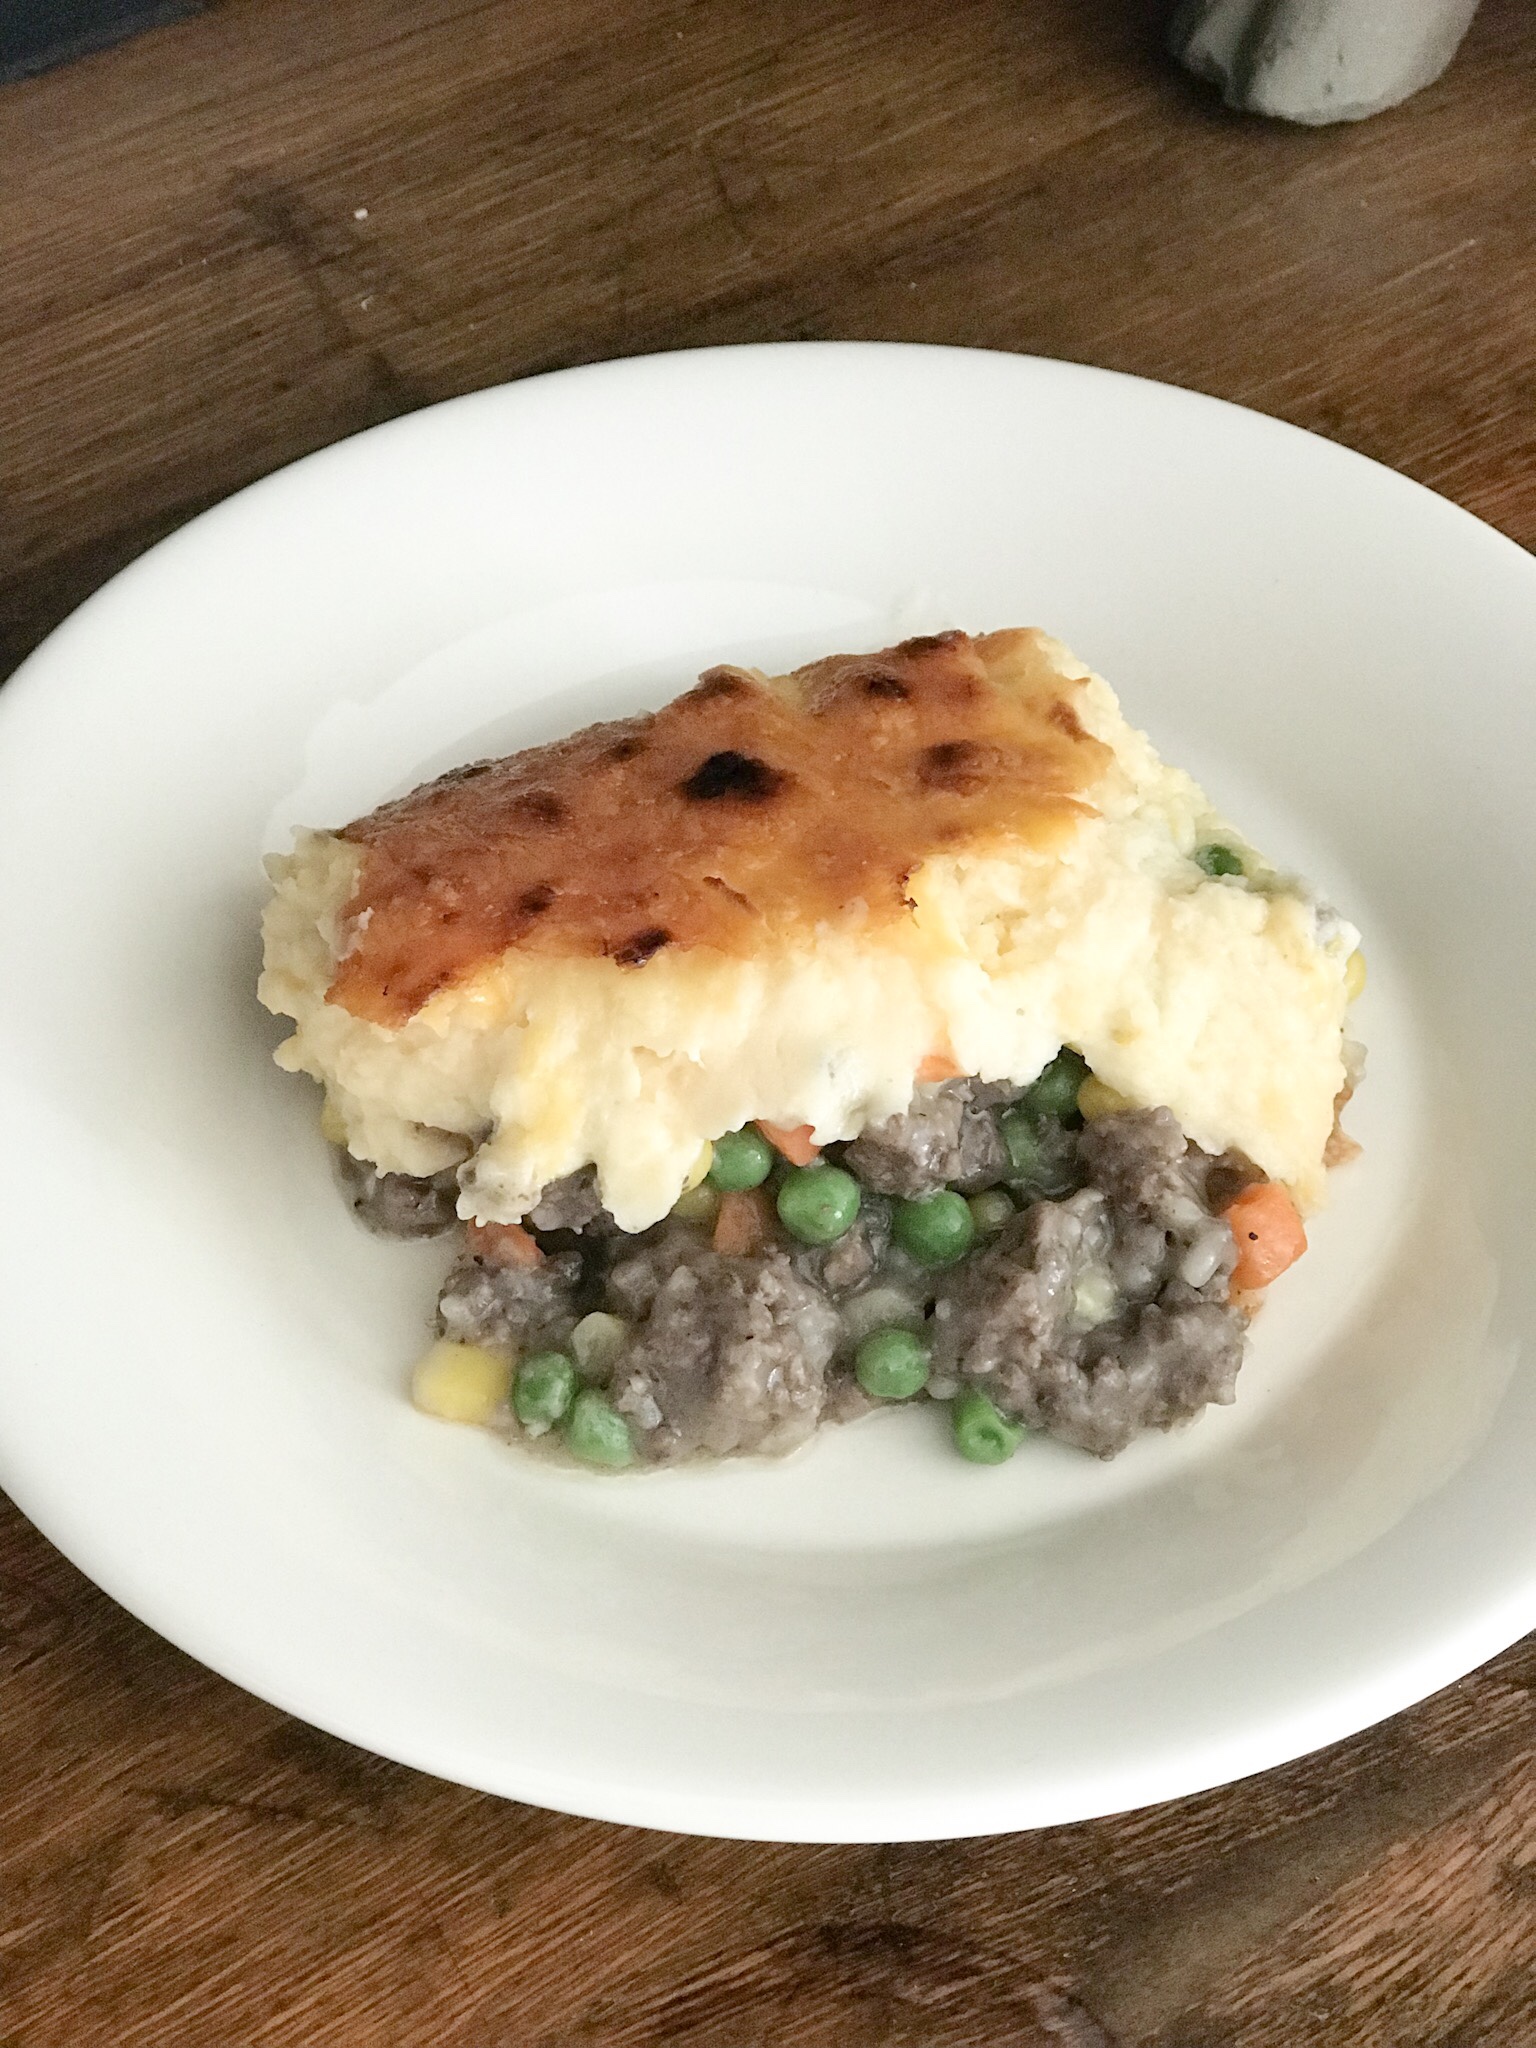
- Once drained, add the frozen veggies, salt, and pepper to the meat.
- In a separate sauce pan, mix the leftover beef fat and flour to create a roux. Once the roux is completed, pour the beef broth into the mixture and stir vigorously to create a gravy. Stir until the gravy is smooth. Salt and pepper the gravy to taste. Pour the gravy over the meat and veggie mixture and stir everything together.
- Place the mixture into a deep casserole dish and spread into an even layer.
- Once your mashed potatoes have been made (can be fresh, or, boxed), add in the cream cheese and stir until combined. Salt and pepper to taste. Once the potatoes are done, spread into an even layer over the meat mixture.
- Sprinkle the cheddar cheese on top and bake for 20 minutes, or, until the cheese is bubbly and golden on top.
Leave a Reply