recipe

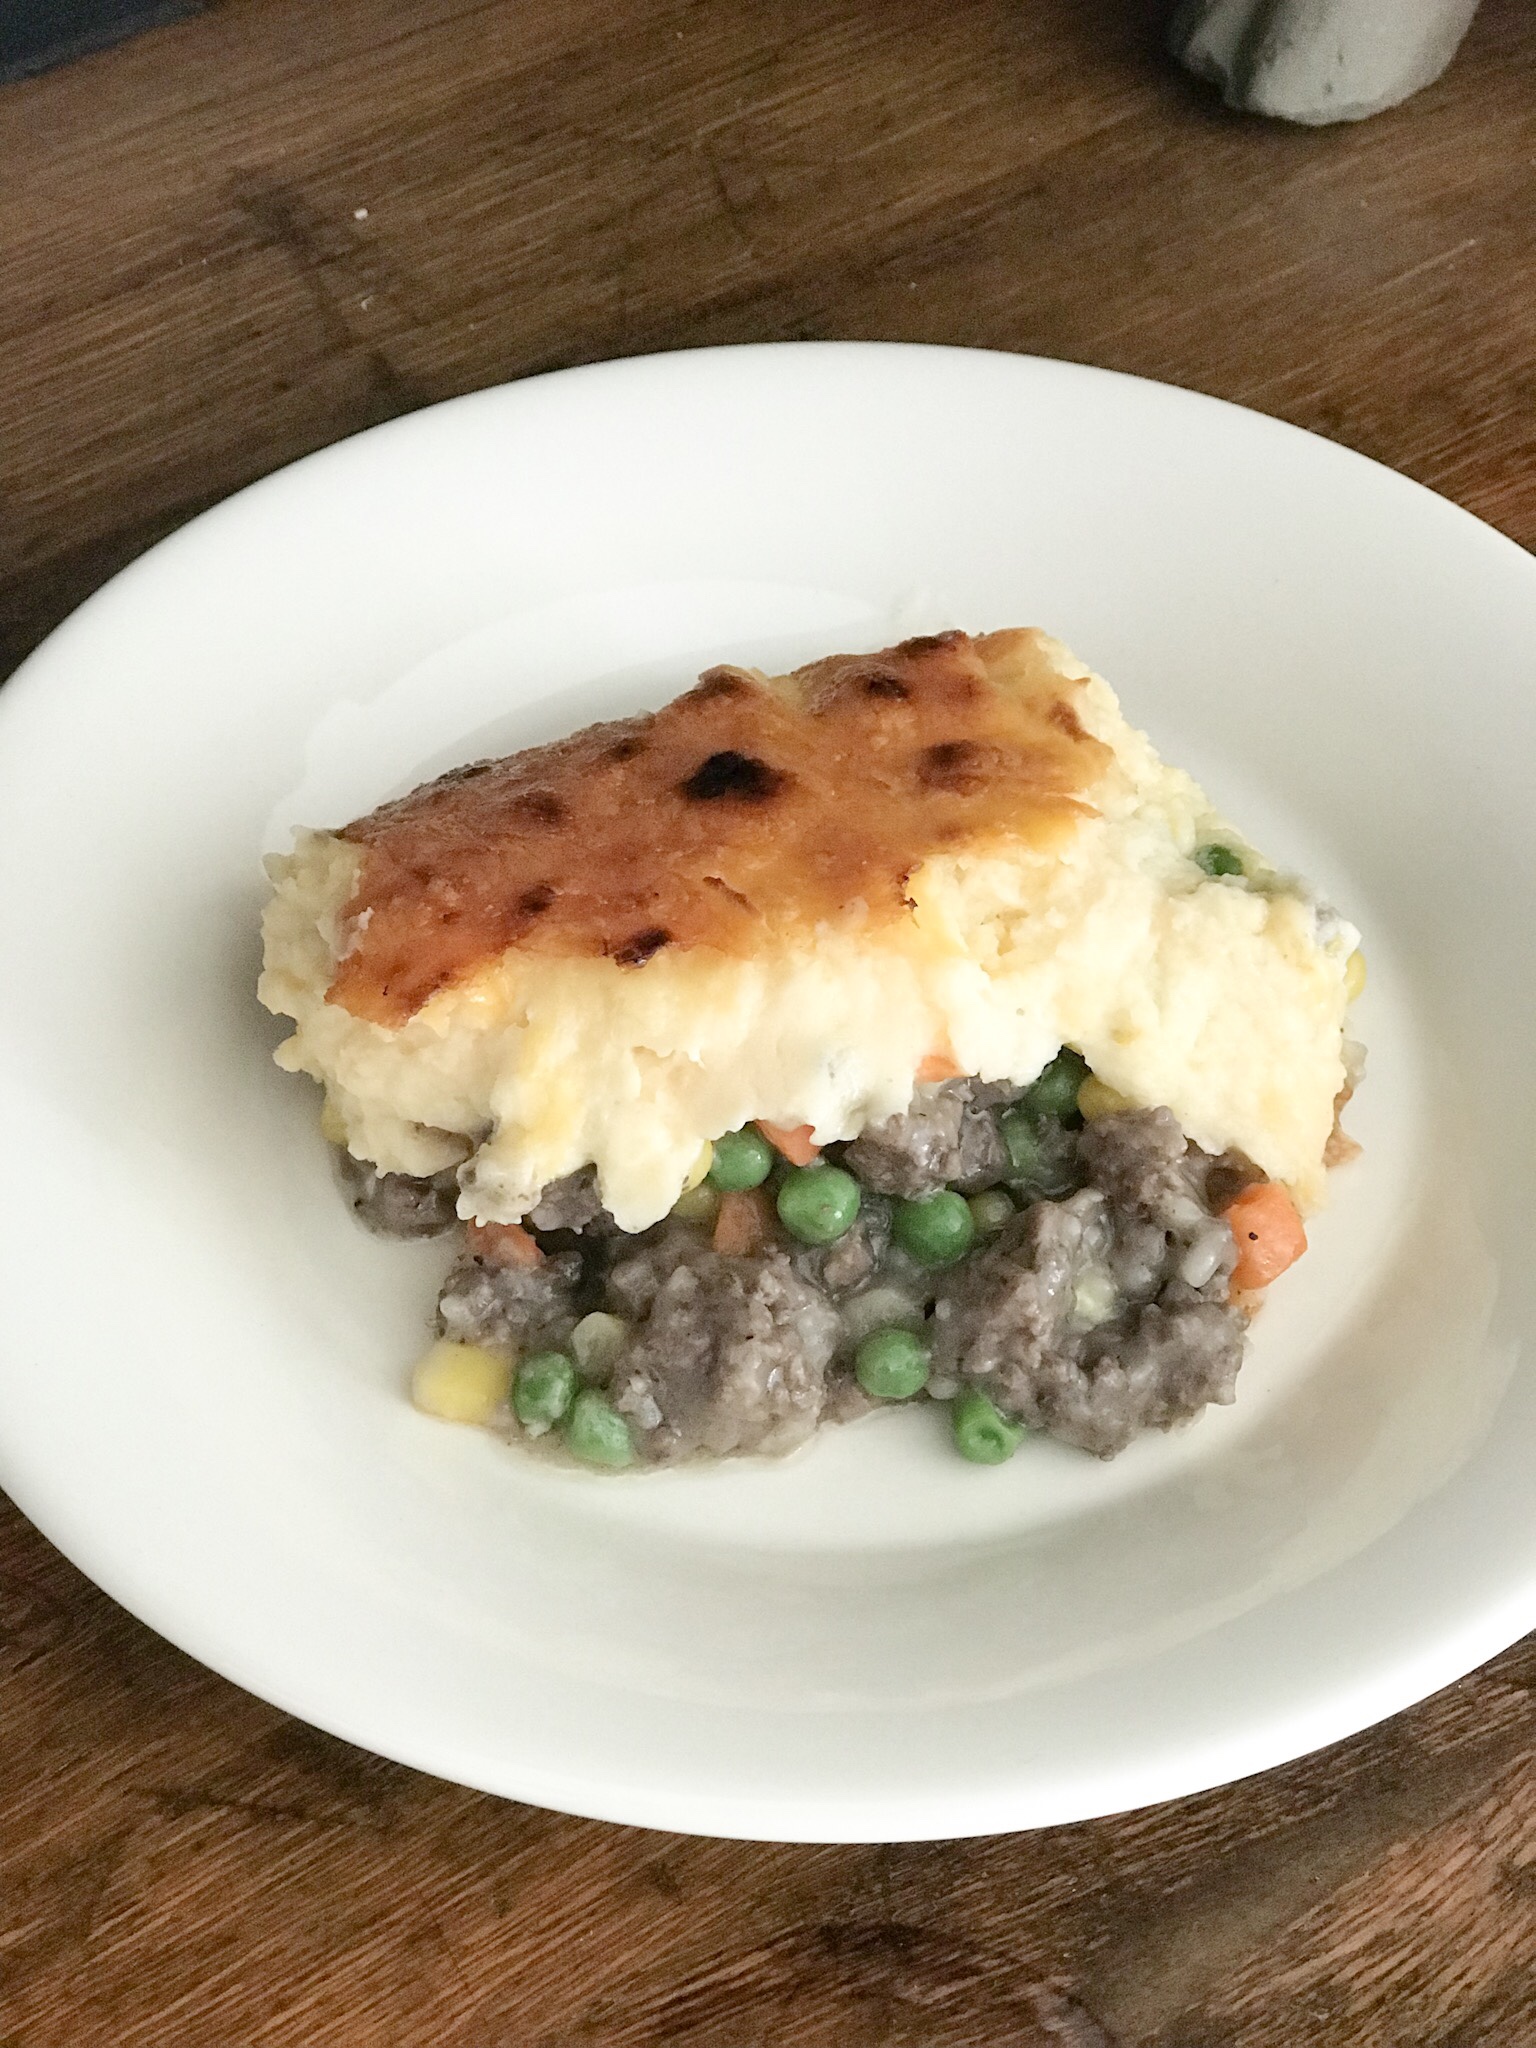
Freezer Friendly Shepherd’s Pie

There’s nothing I love more than a delicious comfort food meal.  I’m talking the kind that warms your whole body from within, and fills your body and soul with so much goodness that you’re bursting at the seems…literally and figuratively.

Over the years I feel as though I have mastered the art of make ahead meals, and food preparation in general so that I can have more quality time with my family instead of spending ridiculous amounts of time in the kitchen cooking and cleaning up afterwards.  I generally spend a 4-6 hour period once a month preparing freezer meals, chopping and freezing produce, and packing almost everything we would need to use for that month to store away for another day.  It has helped save my family time, and money in the long run which I would never complain about!  Our lives are crazy busy more often than not, and this Shepherd’s Pie recipe is an awesome way to provide some extra meals in your freezer for those days when you really just don’t have the time (or energy) to put together a meal for your family.  I love casseroles in general because they’re super easy to put together, they freeze well, and are a great option to provide an easy and delicious meal to your family without the fuss.  This Shepherd’s Pie recipe is in constant rotation on our menu and is one of our family favorites…plus, the leftovers don’t last very long in our house!

I hope you give this recipe a try!  If you do, come back here and let me know what you thought!

Shepherd's Pie

Prep Time15 mins
Cook Time20 mins
Total Time30 mins
Course: Main Course
Keyword: easy, home cooked, shepherd's pie
Servings: 12 people

Ingredients

  • 3 lbs. Ground Beef
  • 16 oz. Frozen Peas and Carrots
  • 8 0z. Frozen Corn
  • 1 tsp Salt
  • 2 tbsp All Purpose Flour
  • 1 tsp Ground Pepper
  • 2 Cups Beef Broth
  • 4 Cups Mashed Potatoes
  • 4 oz. Cream Cheese
  • 1 Cup Shredded Cheddar Cheese

Instructions

  • Preheat the oven to 375º F.
  • Brown the ground beef and set aside 3-4 tbsp of fat from the meat and drain the rest.
  • Once drained, add the frozen veggies, salt, and pepper to the meat.  
  • In a separate sauce pan, mix the leftover beef fat and flour to create a roux.  Once the roux is completed, pour the beef broth into the mixture and stir vigorously to create a gravy.  Stir until the gravy is smooth.  Salt and pepper the gravy to taste.  Pour the gravy over the meat and veggie mixture and stir everything together.
  • Place the mixture into a deep casserole dish and spread into an even layer.
  • Once your mashed potatoes have been made (can be fresh, or, boxed), add in the cream cheese and stir until combined.  Salt and pepper to taste.  Once the potatoes are done, spread into an even layer over the meat mixture.
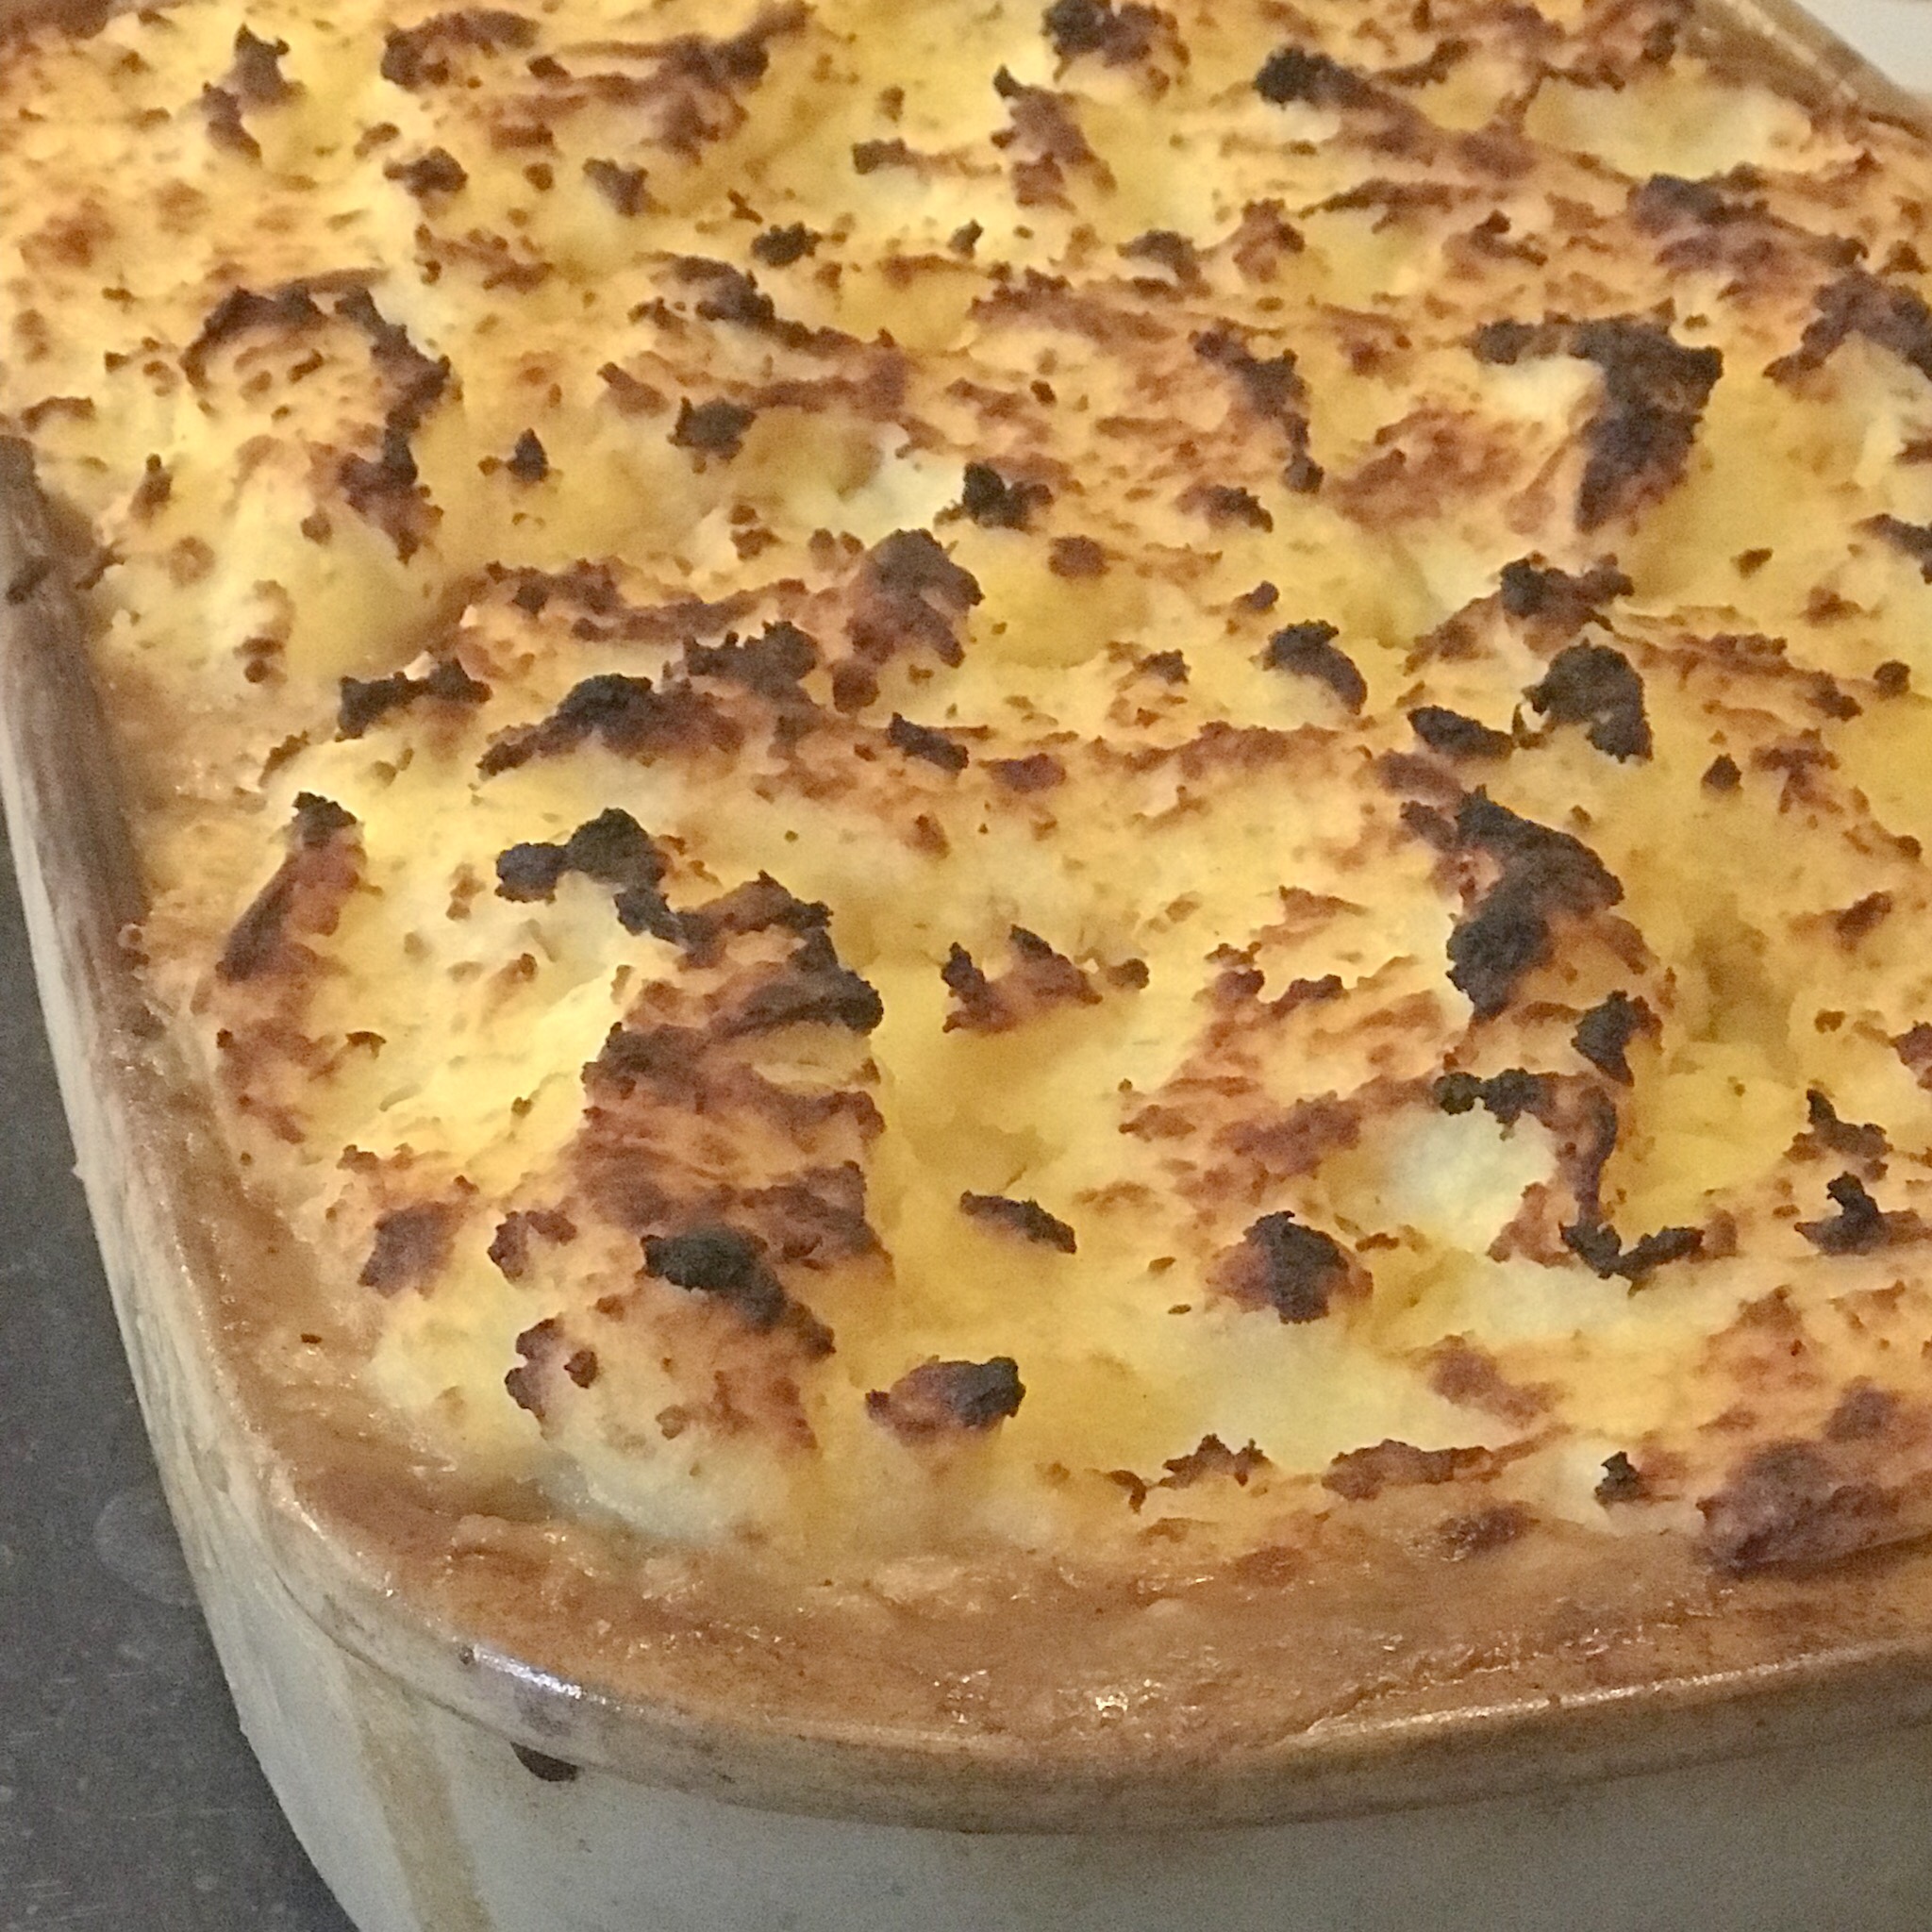
  • Sprinkle the cheddar cheese on top and bake for 20 minutes, or, until the cheese is bubbly and golden on top.
Notes

This recipe is freezer friendly!
If you wish to make this meal ahead and freeze, I recommend either preparing the meal in an aluminum tin, or, whatever baking dish you choose (just line it with foil before placing the food inside first).  The goal is to freeze this meal in a way that will take up as little space as possible in your freezer.
I personally will line my glass casserole dish with foil and add the food into the dish in the layers as instructed - if this is the route you choose by using your own dish to put the food into, please follow these next steps.  Once the dish is assembled, your next step will be to "flash freeze" your dish.  This means to place your entire dish into the freezer for roughly 30 minutes (or until completely cooled and hard to the touch).  Once the dish is flash frozen, remove it from your casserole dish, wrap the food in foil, place into a freezer safe ziploc bag (be sure to label and date), and will be easily stored in your freezer for up to 6 months.
If you choose to use an aluminum tin for your food storage, follow the same "flash freezing" method, place the lid on the container, and store for up to 6 months.

The Best Damn Thanksgiving Leftovers Casserole

Alright friends, now that Thanksgiving is officially done and we all still feel that post turkey coma, it’s time to put those leftovers to good use!  Don’t get me wrong, I love me some warm turkey sandwiches for a few days afterwards, but, I like to create something easy, delicious, and kid friendly that will last us a few meals after the holiday.

I introduce you to the best damn thanksgiving leftover casserole!  I came up with this recipe a few years back because I found that my family are fans of mixing all their favorite sides together with the turkey and creating tiny sandwiches with the dinner rolls.  I figured if I made it a point to create a casserole with all of the favorites it would be a winner, thankfully I was right on the first try!

This recipe is husband and kid tested and approved!  I honestly make this throughout the year per my husbands request and it is just the best comfort food that makes my family extremely happy!

**Warning – this may not be the prettiest dish in the world, but, it will having you coming back for more!**

The Best Damn Thanksgiving Leftover Recipe

This quick and easy recipe that includes all of the best foods from Thanksgiving will surely be a crowd pleaser and will leave your family begging for more all year long!
Prep Time15 mins
Cook Time5 mins
Total Time20 mins
Course: Main Course
Cuisine: American
Keyword: casserole, cranberry sauce, gravy, kid friendly, leftovers, stuffing, thanksgiving, turkey
Servings: 12 People
Author: Jenn

Ingredients

  • 4 C Turkey (shredded)
  • 4 C Stuffing can use boxed stuffing
  • 1 C Turkey Gravy can use canned, mix, or, fresh made
  • 4 C Mashed Potatoes can use instant potatoes
  • 3 Cans Cranberry Sauce jellied/whole per your preference

Instructions

  • Pre-Heat your over to Broil (mine automatically sets to 550 degrees).
  • Shred your turkey with a fork into small edible pieces.
  • Spray your baking dish with a non-stick spray, or, rub a thin layer of butter on the surface.
  • Add your stuffing to the bottom of the baking dish first to create your first layer. From this point on you will continue to layer the cranberry sauce on top of the stuffing, the turkey on top of the cranberry sauce, the gravy on top of the turkey, then the mashed potatoes on top of the gravy. Smooth out the surface, or, leave it a little more rustic looking.
  • Place the dish into the oven on the top rack for roughly 3-5 minutes, or, until the potatoes are turning a nice golden brown color.
  • Once the dish is cooked through, let it sit on the stovetop for 5-10 minutes to let the dish set.
  • Serve and enjoy!

Latest from Instagram

Copyright © 2024 · Theme by 17th Avenue